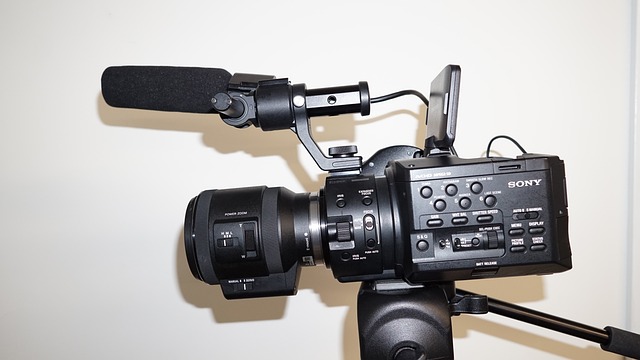
DivX, a popular video compression format known for balancing high-quality visuals and small file sizes, facilitates efficient digital content sharing. Converting DivX files into compatible formats like MP4 or AVI is crucial for playback across diverse devices and media players. This process is straightforward using tools such as HandBrake or XMedia Recode, allowing users to adjust settings like resolution and bitrate. By ensuring player compatibility, optimizing file sizes, and organizing digital libraries, users can enjoy DivX content seamlessly.
Empowering users to share and enjoy digital content effortlessly, DivX has emerged as a game-changer in multimedia transfer. This article delves into the world of DivX, exploring its pivotal role in simplifying content sharing. We’ll highlight the numerous benefits of using DivX for seamless digital transfers, provide a comprehensive step-by-step guide on converting your files to DivX format, and share best practices for optimizing your DivX content enjoyment. Learn how to leverage DivX for efficient and high-quality digital experiences.
Understanding DivX and Its Role in Content Sharing

DivX, a video compression format known for its high-quality encoding and efficient file sizes, has long been a player in the digital content sharing space. Its role is pivotal, especially as users seek seamless ways to share videos online without compromising on visual fidelity. The format’s ability to balance quality and file size makes it ideal for streaming and peer-to-peer sharing.
Converting DivX files is often necessary for compatibility with various media players and devices. How to Convert DivX involves using specialized software that can encode the video into other popular formats like MP4 or AVI, ensuring accessibility across platforms. This process not only preserves the quality of the original content but also makes it easier for users to enjoy their digital media without any restrictions.
The Benefits of Using DivX for Seamless Digital Transfer

Using DivX offers significant advantages for users looking to share and enjoy digital content without hassle. Its primary benefit lies in its ability to facilitate seamless digital transfer. DivX is renowned for efficiently compressing video files, ensuring that users can reduce file sizes without sacrificing quality. This feature is particularly useful when sharing high-definition content or large multimedia files, making the transfer process faster and more manageable.
Converting videos to DivX format is straightforward thanks to user-friendly tools available online. How to Convert DivX guides offer simple step-by-step instructions, allowing users to effortlessly adapt their media for various platforms and devices. This accessibility empowers individuals to share their favorite movies, TV shows, or personal videos with friends and family without the technical barriers often associated with other formats.
Step-by-Step Guide: Converting Your Files to DivX Format
Converting your files to DivX format is a straightforward process that empowers users to effortlessly share and enjoy digital content. Here’s a step-by-step guide to help you navigate this simple procedure.
1. Select Your Files: Start by selecting the media file(s) you wish to convert, be it videos or audio tracks. Ensure they are in a supported format such as MPEG, AVI, or WMV.
2. Choose a DivX Converter: There are numerous online tools and software applications designed for this purpose. Opt for one that suits your needs—considering factors like ease of use, conversion speed, and file size options. Some popular choices include HandBrake and XMedia Recode.
3. Install and Launch the Tool: Once selected, install the converter on your device if necessary, then launch it. The interface should guide you through the process with clear instructions.
4. Add Files to Converter: Import your chosen media files into the converter. This step varies slightly between tools but typically involves clicking a “Add File” or similar button and selecting your desired content.
5. Adjust Settings (Optional): Depending on your converter, you might have options to tweak settings like video resolution, bitrate, and audio quality. These adjustments cater to specific requirements, ensuring optimal output based on your intended use.
6. Initiate Conversion: After setting all the required parameters, click “Convert” or a similar button to start the process. Your files will be processed according to your specifications.
7. Wait for Completion: The conversion time depends on file size and complexity. Once complete, you can locate your newly converted DivX files within the specified output folder or download location.
Best Practices and Tips for Optimizing DivX Content Enjoyment

To optimize your digital content enjoyment, especially with DivX files, follow these best practices and tips. Firstly, ensure your media player supports DivX codecs; many modern players do, but it’s always good to check. Secondly, use reliable conversion tools like HandBrake for high-quality, optimized outputs. When converting, consider adjusting bitrates for balance between file size and video quality; lower bitrates reduce size but may impact clarity, while higher bitrates maintain detail at the cost of larger files.
Additionally, pay attention to resolution settings – choose one that matches your display’s native resolution for the best visual experience. Lastly, organize your digital library thoughtfully. Create folders based on genres or types of content, use descriptive filenames, and consider using metadata editors to add tags and details, making it easier to find and enjoy your DivX content later.